
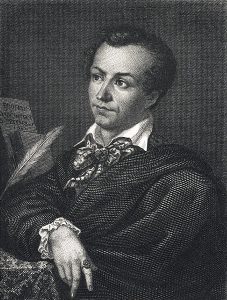
The history of chicken Kiev has been lost to time like so much sand through so many fingers. The most compelling idea of where the dish comes from was that it was invented in the 18th Century in Russia by a Russian chef who probably called it something else. At this time, Russian chefs were starting to adopt ideas from French kitchens, and around the same period, the famous Marie-Antoine Carême had his inexplicably short tenure as chef to Tsar Alexander I of Russia in which he did not cook a single dish.
The story then goes that chicken with herby garlicky, compound butter made its way to Europe and America where it was called ‘chicken Kiev’ to anchor its origin back in Russia and make it sound all exotic and cosmopolitan.
However, when it comes to working the skinny on chicken Kiev, I have a secret weapon. I happen to know some Russians who have inbuilt skills in searching and analysing websites that are written in thier mother tongue. Research suggests that the dish originated in a grand hotel in Moscow that had a restaurant called ‘Kiev.’ This appeals to me as probably the strongest theory I have encountered.
There are countless recipes and tutorials for making chicken Kiev, and I have tried a few of them. The problem that any cook faces is the prospect of making a prep error that results in all the compound butter getting dumped into the fryer fat and the diner experiencing the woeful disappointment of an un-flavoured supreme of chicken. Methods of manufacture include packing out the cavity behind the mini fillet, securing with cocktail sticks, stuffing with small chicken plugs, and even just ‘hoping for the best.’
These days, science solves the problem with a product known as ‘meat glue.’ This is a mixture of maltodextrin and transaminase that actually ‘melts’ the meat and enables one piece of meat to be securely attached to another rather like polystyrene cement melts the arse of an Airfix Spitfire pilot to his tiny, plastic seat. Use of meat glue not only secures the butter inside its chicken sleeping bag, but it also enables you to repair a mistake.
Note that my Russian contacts stumbled on a further method which suggests that the original was made by wrapping the butter in a small piece of chicken before encasing in a larger piece. This was fried quickly and then finished in the oven. This makes a lot of sense given that 8–10 mins is a long time for anything in a fryer, and the doneness can still be touch and go.
The recipe provided here is adapted from that of Simon Hopkinson and Lindsey Bareham’s The Prawn Cocktail Years by adjusting the cooking time, adding meat glue and altering the butter preparation.
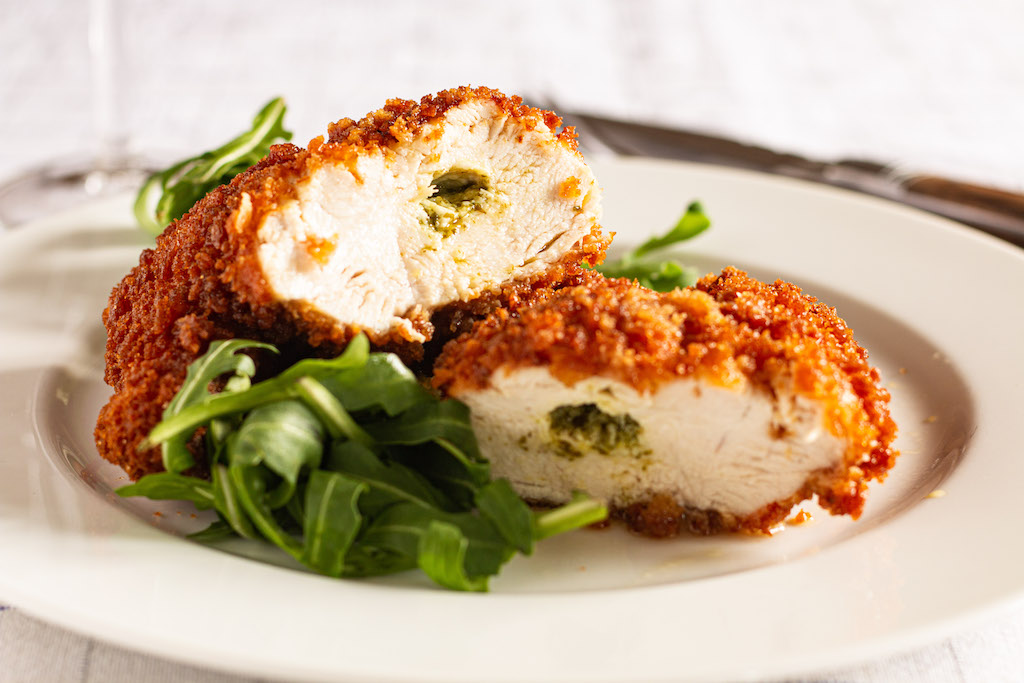
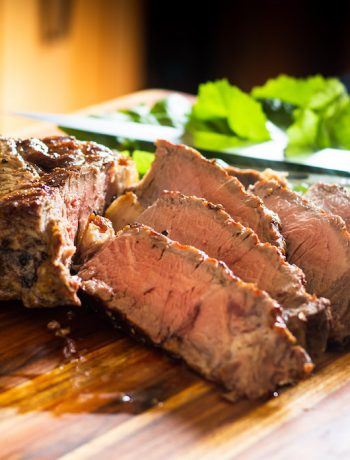
Chicken Kiev


 (5 votes, average: 3.80 out of 5)
Ingredients
- For the butter:
- 100g unsalted butter, softened
- 2 cloves garlic, finely chopped
- 2 tbsp parsley, finely chopped
- Half a tbsp tarragon, finely chopped
- Half a tbsp chives, snipped
- Grated zest of 1 lemon
- 2 dashes Tabasco
- 2 tsp Pernod
- Salt and freshly ground black pepper
- For the chicken:
- 4 supremes of chicken (breasts with the wing bone still attached)
- 1 tsp maltodextrin/transaminase 'meat glue'
- 2 tbsp plain flour
- 2 eggs, beaten
- 6 tbsp breadcrumbs
Instructions
Put all the ingredients for the butter in a food processor and blitz until combined. Scrape out the butter and roll it up in greaseproof paper to form a sausage about as thick as a finger. Chill.
Heat a fryer to 160˚C.
Remove the inner 'mini fillet' from each breast and reserve. Push a boning knife into each supreme from the fat end, taking care not to poke it out of the flesh. If you do make a hole in the side of the supreme, it does not matter too much because science is on your side.
Expand the tunnelled hole with a finger, and then insert an appropriate length of the chilled compound butter.
Sprinkle the opening with a bit of the meat glue and pinch shut. If you have split the supreme anywhere else with the knife, then patch the hole with a small piece of the mini fillet, stuck down with a sprinkling of the meat glue. Chill for a bit while the glue sets.
To cook, dredge the supremes sequentially in flour, egg and breadcrumbs. Lower them into the a fryer (batch cooking may be needed if the fryer is small; keep warm in a low oven) and cook for 10 mins.
Serve with string fries and a salad.
1 Comment
22 Classic Dishes That Have Vanished From Modern Menus – Foodie Haven
17/06/2025 at 1:14 pm[…] © The Nosey Chef […]